Documentation
This documentation is a work in progress. Check out videos on the ultraPacer YouTube Channel. Feature requests or issue/bug reports? Suggest, vote, and comment in the Feedback Hub.
Anything else? Contact me directly.
This guide will step you through creating a new Course using the updated multi-step course creation form.
Getting started
Login/Signup
If you do not already have one, create an account on ultraPacer by logging in. Find the “Login/Signup” option at the top right of the page.
Dashboard
Find any courses you’ve created at the “Dashboard” link in the top menu and then go to the Courses tab.
Create a course
From the Dashboard, click on the green “Create course” button at the top of the page. This will open the new multi-step Course Edit Form.
Step 1: Basics
The first step covers the essential information needed to create your course:
Course Organization
If you belong to one or more organizations (e.g., a race organizer or FKT route maintainer), you can assign the course to an organization. This controls organization-level features such as partner referral tracking, official badging, and organization-prefixed URLs.
Course Name
Enter a name for your course (required).
Select a source
GPX File Upload a .gpx file containing latitude, longitude, and elevation points along the course. These can be downloaded from an actual track recorded, or from one of various route creation tools.
Strava Route Source the route directly from the Strava Route builder. Just enter the ID number of the route or the full path, typically https://www.strava.com/routes/[id-number], and select “Load” to import the route into ultraPacer. Updates to the Strava route can later be carried over to ultraPacer with the Reload button. Note that the route must be set as “Public” in Strava.
Step 2: Source data
After uploading your track, configure additional course parameters:
Override Data
Optionally, you can override the distance and elevation calculated from the track file loaded. Use these if you know the course should be a certain distance or amount of vertical and you believe the input file is incorrect, or if you want a 50k to work out to exactly 50k, for example.
Note that if using the “Loop course” option, overrides are for a single loop.
Loop Course
If there are multiple loops of the same course, you may upload a GPX/route for a single loop and set the number of loops. Waypoints for the first loop are repeated on each loop.
Select the number of loops (default is 1).
Utilities
This section includes the Reverse Course feature, which reverses all course data (track, waypoints, terrain).
Step 3: Add waypoints
Create waypoints along your course for aid stations, checkpoints, or other points of interest.
Adding Waypoints:
You can add waypoints in two ways:
- Click directly on the course route on the map or elevation profile to add a waypoint at that location
- Click the [+] Add Waypoint button below the waypoint table to add a waypoint by entering a specific distance
If a waypoint is used more than once (e.g., runners return to an aid station), add each stop at that location as an individual waypoint.
Waypoint locations can be adjusted using the arrow controls or by specifying a distance in the table.
If your GPS source included waypoint data, waypoints from that source will be populated automatically. You will need to acknowledge waypoints that were automatically imported or adjusted.
Waypoint Properties
When adding or editing a waypoint in the table, you can configure:
- Name - The text shown on the map, chart, and tables (enter in the name field next to the location)
- Location - The distance along the course where it is located (displayed next to the waypoint marker, can be adjusted with arrow buttons)
- Tags - Click the tag icons to mark waypoints with special features:
- Aid Station - Resupply location (automatically applied to new waypoints)
- Water Source - Water-only stop
- Dropbag - Location where you’ll have a drop bag
- Crew - Location where crew access is available
- You can have multiple tags on a single waypoint
Importing Waypoints
You can import waypoints from a .gpx or .csv file using the upload button below the waypoint table.
GPX format: Waypoints use the wpt tag:
<wpt lat="##.###" lon="##.##"><name>WAYPOINT_NAME</name></wpt>
CSV format: Each row should contain:
WAYPOINT_NAME,LOCATION
where location is in miles or kilometers based on your settings.
After selecting a file, you’ll be prompted to review the waypoints before importing.
Adjusting Waypoint Locations
After adding waypoints, you can adjust their exact position by clicking the edit icon next to the distance. This opens an adjustment panel where you can:
- Use the arrow buttons to shift the waypoint location in increments
- Directly enter a specific distance value
- Click Done to save or Remove to delete the waypoint
The waypoint marker will move along the route as you adjust the location.
Notes About Waypoints
- Start and Finish waypoints are automatically created at the beginning and end of your course
- Start and Finish waypoints cannot be deleted or moved, but can be renamed
- For looped courses, only the first set of waypoints is shown; these repeat with each loop
Step 4: Add terrain
Define terrain factors for different sections of your course to affect pacing calculations.
Automatic Terrain Detection
When you navigate to the terrain step, ultraPacer will automatically detect terrain types along your course using trail matching. The system analyzes your GPS track against known road and trail networks to classify each section as paved, dirt road, singletrack, or other terrain types and assigns appropriate difficulty factors.
If terrain has already been defined, you can re-run detection by clicking the “Fetch Terrain Info” button. This will replace any existing terrain data with fresh results.
Manual Terrain Editing
You can also manually define or adjust terrain:
- Add terrain breaks by clicking on the map or elevation profile
- Set terrain factors (multipliers) for different surface types
- Configure terrain types (paved, dirt road, singletrack, technical, etc.)
Terrain Types and Factors
Each terrain type applies a pace adjustment factor:
| Type | Factor | Description |
|---|---|---|
| Paved | 1.00 | Roads and paved surfaces |
| Dirt Road | 1.04 | Unpaved roads and fire roads |
| Doubletrack | 1.08 | Wide dirt trails |
| Singletrack | 1.15 | Narrow trails |
| Technical | 1.30 | Rocky, rooty, or otherwise difficult terrain |
Custom terrain types and values are also supported.
Step 5: Event setup
Configure event-specific settings (optional):
Start Date & Time
Input event start date and time. This enables cutoff times and other event-specific features. Date, time, and timezone fields are required for organized events. When later creating plans for a course, a different start date/time can be selected.
Race/Event Series
Associate the course with a race group or event series.
Cutoffs
Set time cutoffs for waypoints when this is an organized event.
Step 6: Sharing
Configure visibility and sharing options:
Public Visibility
If you intend to share the course with others, this option needs to be enabled. After which, you can share the course by providing the URL to the course and/or plan.
Publishing & Searchable
If Searchable is enabled, the course will be able to appear in search results from the Courses page.
Links
Add relevant links (website, registration, etc.) related to your course.
Additional Steps for Race Directors (Admin Users)
If you are a race director or have admin privileges, you will see two additional steps:
Step 7: Tracking (Admin Only)
Configure live tracking integration with supported timing systems:
- ultralive.net
- opensplittime.org
Map course waypoints to timing checkpoints for automatic athlete tracking on race day.
You can also choose how the forecast handles a missing check-in, either as a course-wide default tracking mode or per station:
- Pessimistic — hold the runner just behind the station until their own check-in confirms they have passed through.
- Neutral (default) — hold the runner back to the latest time any runner has been seen at the station, then let the forecast carry them through.
- Optimistic — assume the runner has continued at their normal pace, even without a check-in from them or anyone else.
Step 8: Records (Admin Only)
Add and manage course records for different categories (overall, age groups, etc.).
After Course Creation
After completing the multi-step course creation form, your course is ready to use. You can:
- Create pacing plans for the course
- Share the course with others (if made public)
- Edit waypoints and terrain further from the course page
- Set up event-specific features if it’s an organized race
Modifying a Course
You can modify any of the settings for courses you own by using the “Actions” dropdown menu from the Dashboard page under the Courses tab and selecting “Edit course”, or by using “Actions” → “Modify Course” from the course page itself.
The modification process uses the same multi-step form as course creation, but all existing data is pre-populated and you can navigate directly to any step to make changes.
Copying a Course
You can create a copy of any course you have permission to view:
- Go to the course page
- Click “Actions” at the top of the page
- Select “Copy course”
Alternatively, from the Dashboard:
- Navigate to the My Courses tab
- Find your course, click the “Actions” dropdown menu, and select “Copy course”
The course edit form will open pre-populated with all the data from the original course. You can modify any settings before saving.
Copying Plans
If the original course has plans associated with it, an additional “Copy plans” step will appear in the form. For each plan, you can choose one of the following options:
- Leave — The plan stays on the original course only; nothing is copied
- Copy — A copy of the plan is created on the new course (the original plan remains unchanged)
- Move — The plan is removed from the original course and placed on the new course
Use the “Leave all”, “Copy all”, or “Move all” buttons to quickly apply the same action to every plan.
Once saved, the new course is created under your ownership and you are redirected to it.
Reversing a Course
You can reverse any course you have permission to modify:
- Edit the course using “Actions” → “Modify Course”
- Navigate to “Step 2: Source data”
- In the “Utilities” section, click “Reverse Course”
This reverses all course data including the track, waypoints, and terrain factors.
Deleting a Course
You can delete any course you own:
- Go to your Dashboard
- Navigate to the My Courses tab
- Find your course, click the “Actions” dropdown menu, and select “Delete course”
Alternatively, from the course page:
- Click the “Actions” dropdown menu
- Select “Delete course”
Once it is deleted, you return to the My Courses tab of your Dashboard.
Note: If you have previously shared this course and other users have created plans for it, the course will still persist after you delete it, but will no longer be associated with you as the “owner”.
What's new?
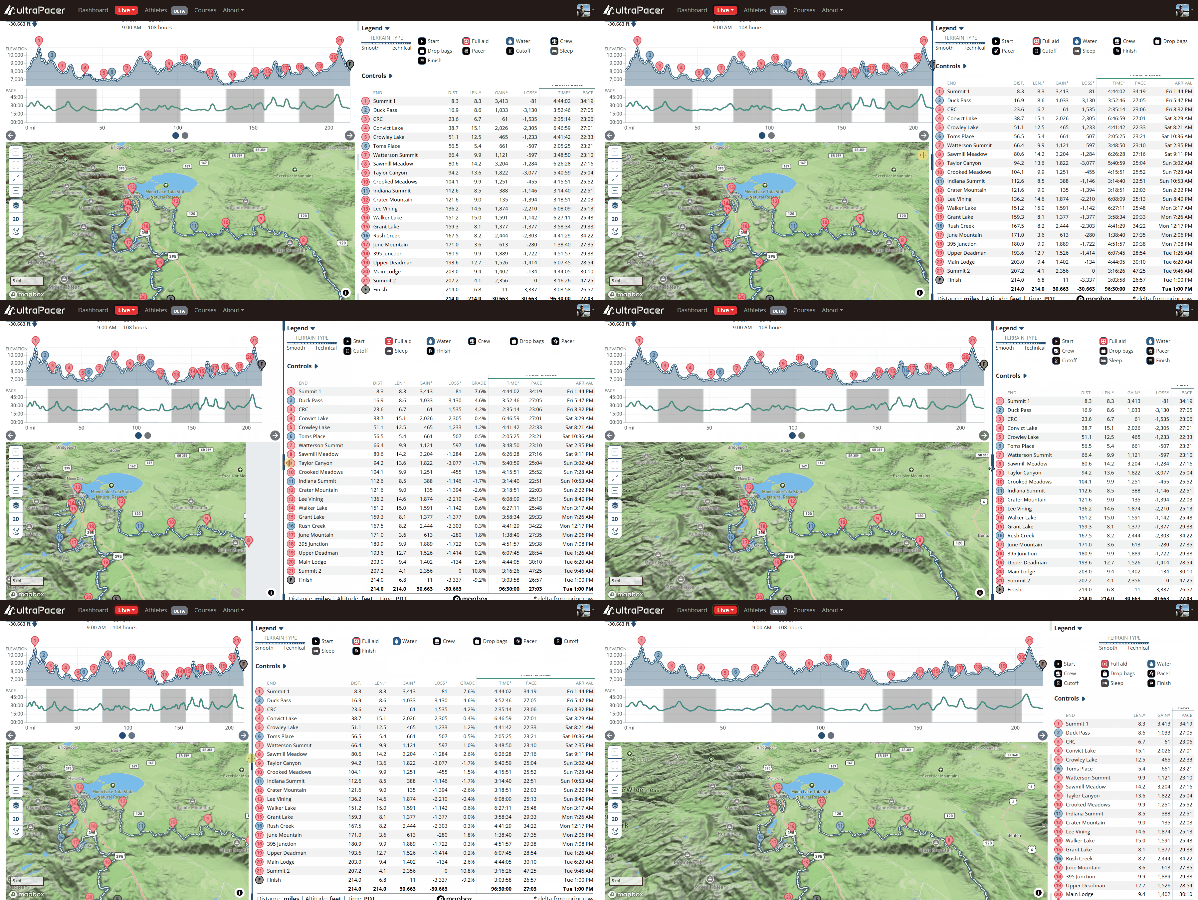
Resize the course page!
On wider screens there is now a divider between the chart and map and the tables beside them. Drag it to give the map more room or spread out the splits, nudge it with the arrow keys, or double-click to snap back to the default layout.