Documentation
This documentation is a work in progress. Check out videos on the ultraPacer YouTube Channel. Feature requests or issue/bug reports? Suggest, vote, and comment in the Feedback Hub.
Anything else? Contact me directly.
To enable coaching features, make sure to select “coach” as one of your Roles on the Settings Page. If you already have athletes assigned (for example, added while creating a plan), the Athletes page is available regardless of your selected roles.
Managing athletes
The following features are available at the Athletes Page.
Adding a new athlete
To add a new athlete, click the New athlete button and enter the athlete’s name. That’s all that is required; you can immediately start creating plans for the athlete.
Optionally, enable Connect a user account and enter an email address to invite the athlete to connect their own ultraPacer account. An email will be sent to the athlete requesting them to confirm you as a coach. After following the link, they can either log in, or create a new ultraPacer login if needed, and accept the coaching invitation. The coach will receive an email confirmation. You can also use the “Resend” button to send the invitation again, correcting the email address first if it was entered incorrectly.
A couple notes:
- You can invite an athlete later using the Invite button on the athlete’s card.
- You can go ahead and create or modify plans for an athlete before they have accepted the invitation. After they accept, any plans you have created for the athlete will be synchronized to their account.
- The email address you enter does not have to be the same as the one the athlete uses to log into ultraPacer
Modifying an athlete
Select the Settings button for the athlete you wish to modify. Whatever you enter into the “Athlete Name” field is visible to you only.
Adjustments to the pacing models (currently available for altitude and darkness) can be applied for the athlete. See the models documentation for more on how these work.
Deleting an athlete
Select the Delete button to remove an athlete. If the athlete has accepted the invitation for coaching (and connected their own account), any plans created for that athlete will still be available for that user through their own login. If that athlete has not accepted the invitation, any plans for the athlete will be deleted.
Athletes in your dashboard
Past and upcoming runs for any of your athletes will appear in your Dashboard. There is a filter button at the top right of the feed which will allow you to filter by athlete.
In your user profile widget (not visible on mobile screens) you will see an Athletes button that will list your athletes and indicate which athletes have upcoming runs.
Creating a plan for an athlete
To create a plan for an athlete, follow the same steps as shown the Create/Modify Plans documentation, but as a coach you will now see an “Athlete” field in the Edit plan form. Select an athlete other than “Me”. Once you save a plan to an athlete, you cannot go back and change the athlete specified (its a one-way deal). You can create multiple plans for any athlete.
This new plan will appear in your athlete’s Dashboard when they log in. They will be able to view and modify the plan, so you can work collaboratively.
It works the other way too: plans your athletes share with you (from Share plan in the plan’s Actions menu) appear in your Dashboard and in the course page’s plan menu under “Plans for” their name, and you can modify them. If you have no plan of your own for that course, the course page may open on one of them.
A note about notes: if you select a row in the Schedule table, you will be able to enter either “Athlete Notes” and “Plan Notes” for that waypoint. The “Athlete Notes” will appear for all that athlete’s plans for the course, while the “Plan Notes” will only appear for the specific plan you are viewing. For example, you may want “Snickers in my drop bag” to show for all plans, because Snickers are always good all the time, but only want “Bring an extra water bottle” to show up in your hot day plan.
Calendar view
Coming soon.
What's new?
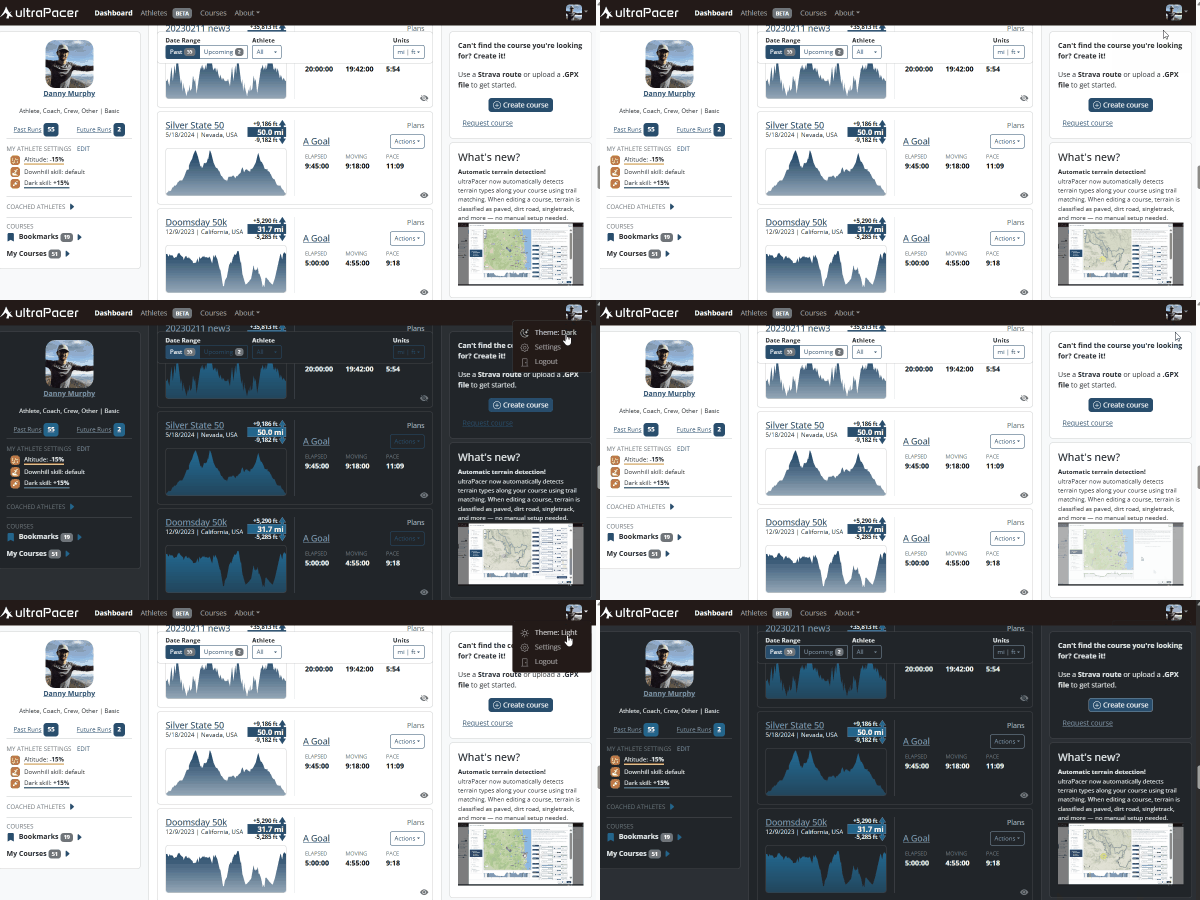
Dark mode is here!
ultraPacer now has a dark theme that’s easier on the eyes in low light. Tap the theme option in the menu to switch between light, dark, or auto — which follows your system setting.